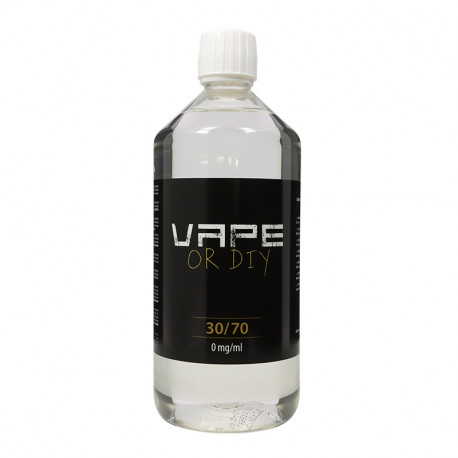
Revolute 30/70 1L Base Liquid
A liter of neutral base, 30PG/70VG, for DIY preparations
DIY (Do It Yourself) is a whole universe in the vape world.
Indeed, making an e-liquid for electronic cigarettes by yourself is expressing all your creativity while making savings!
DIY is a fun approach to vaping that consists of making your e-liquid for electronic cigarettes from start to end. The objective is to make your own recipe, gathering all the ingredients like the flavorings, the base, and the nicotine, and mix them to get the e-liquid that suits you! The e-liquid you're proud of!
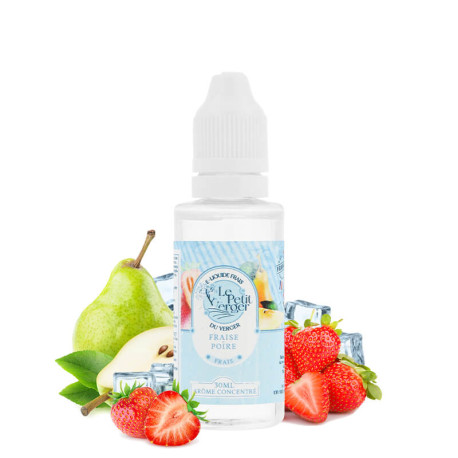
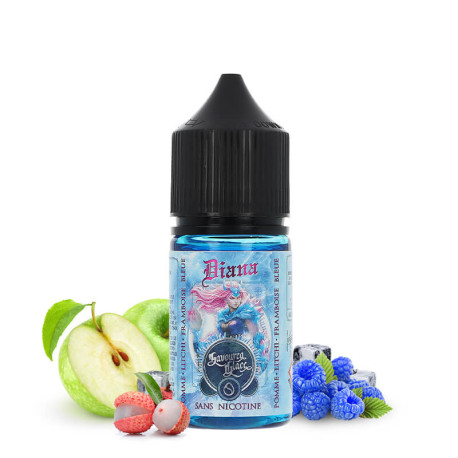
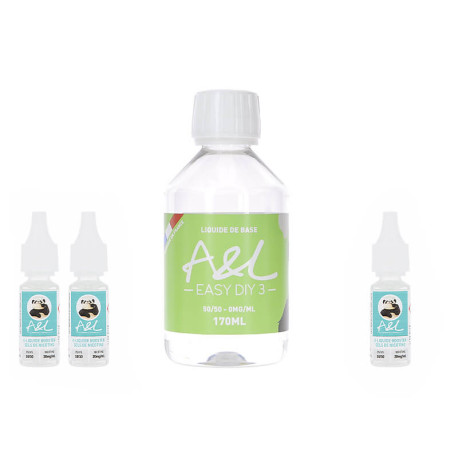
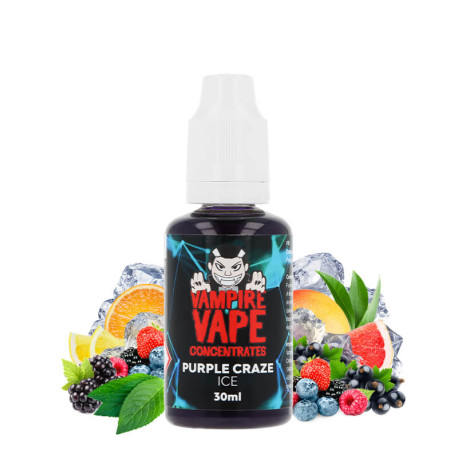
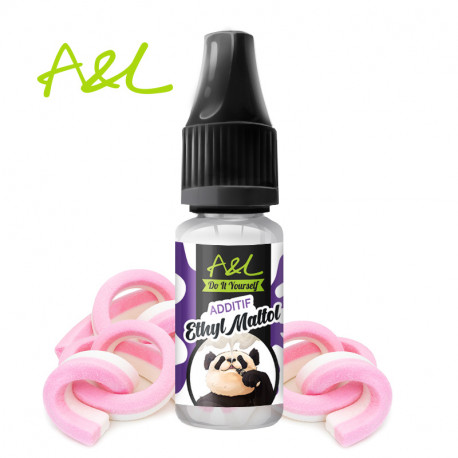
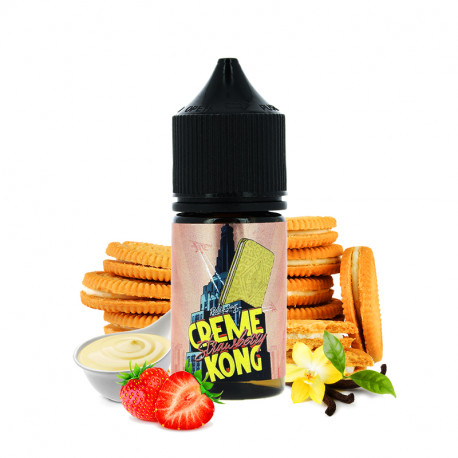
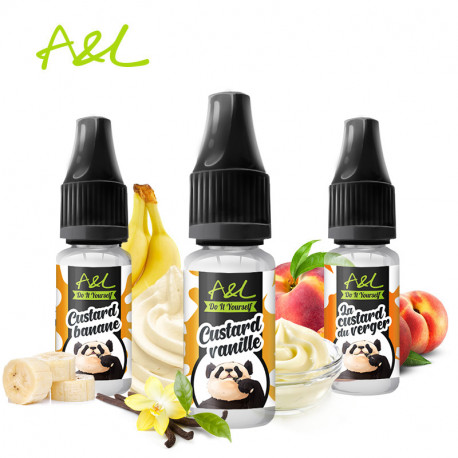
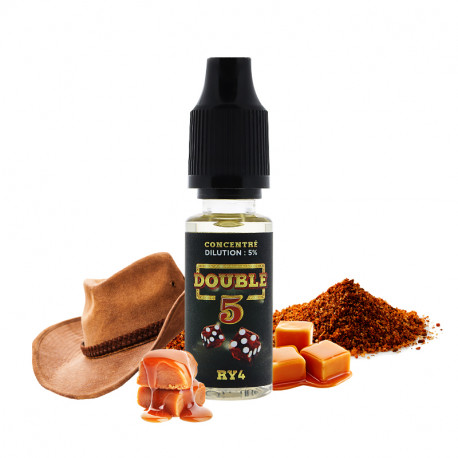
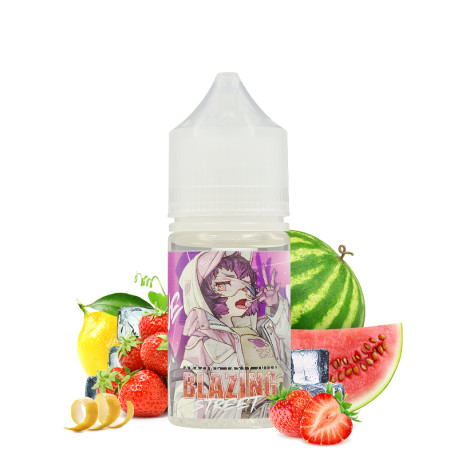
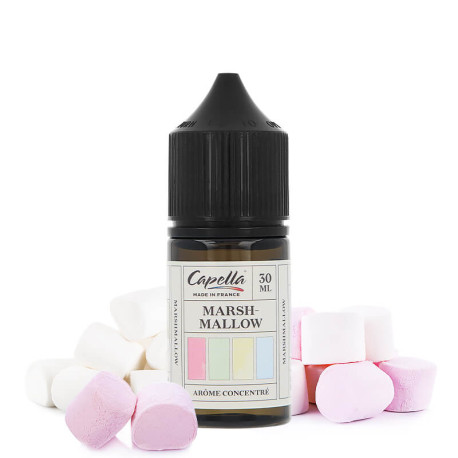
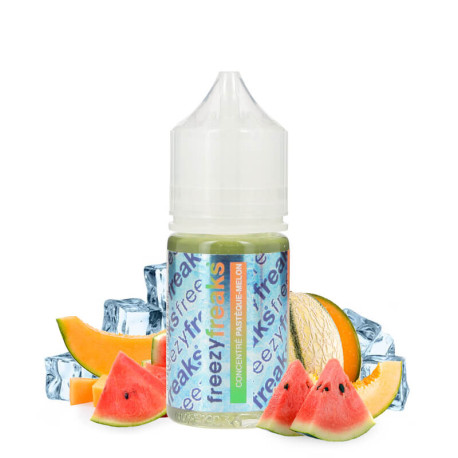
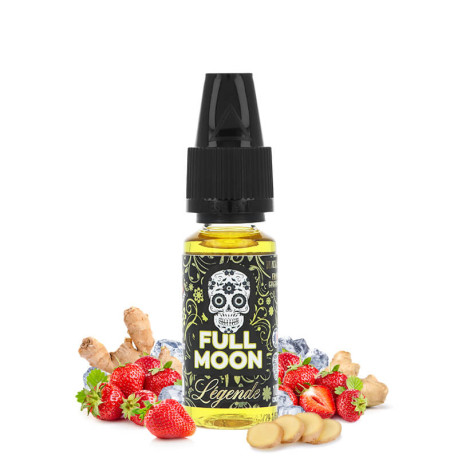
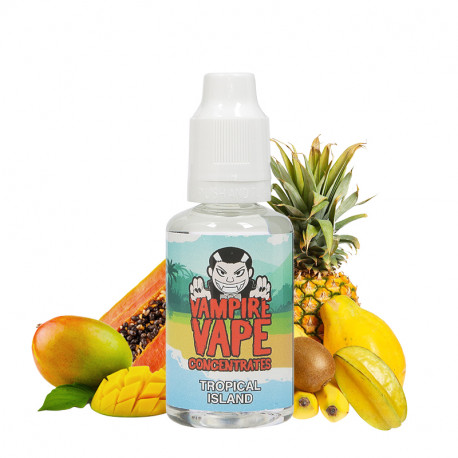
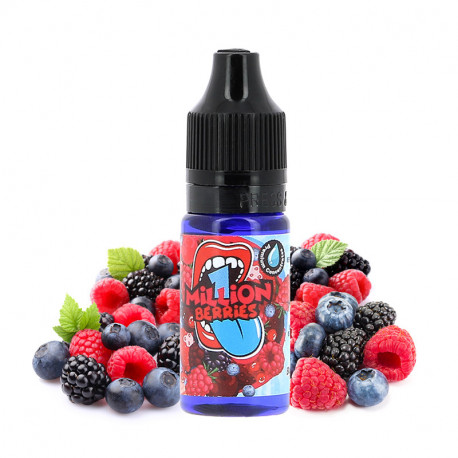
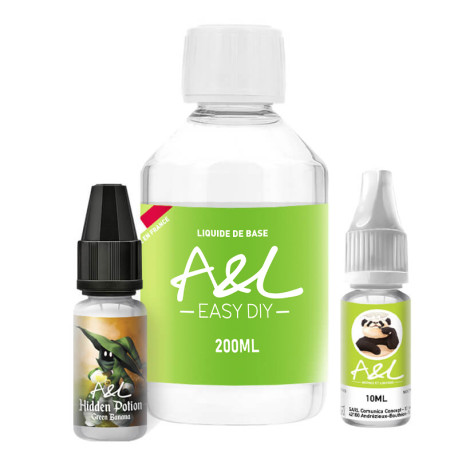
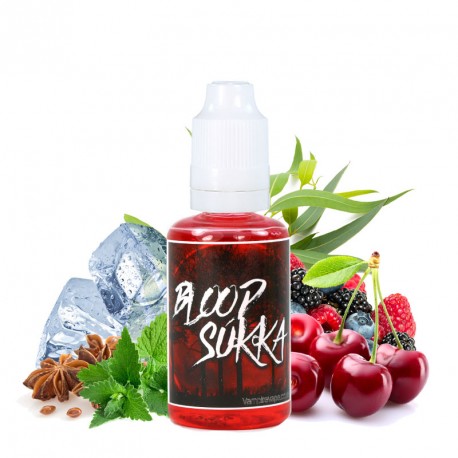
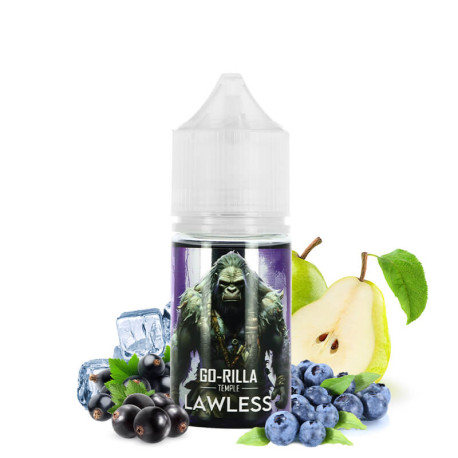
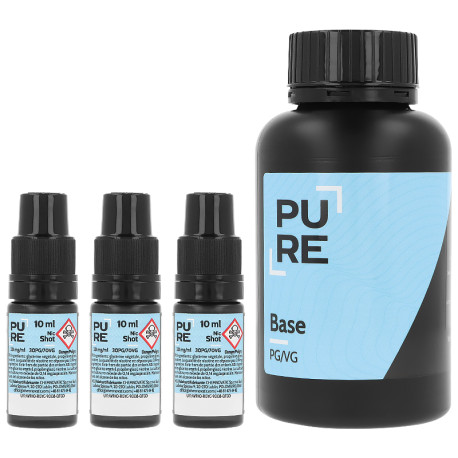
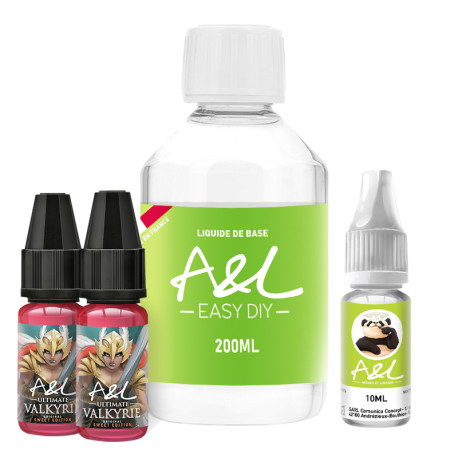
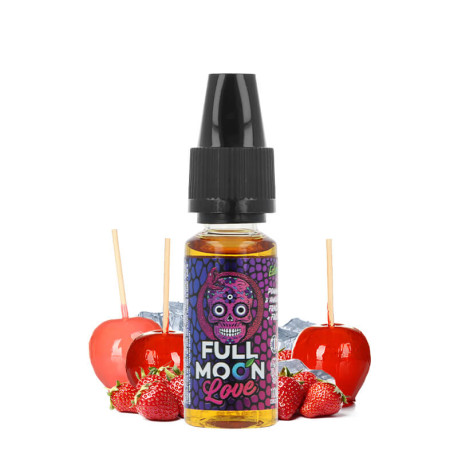
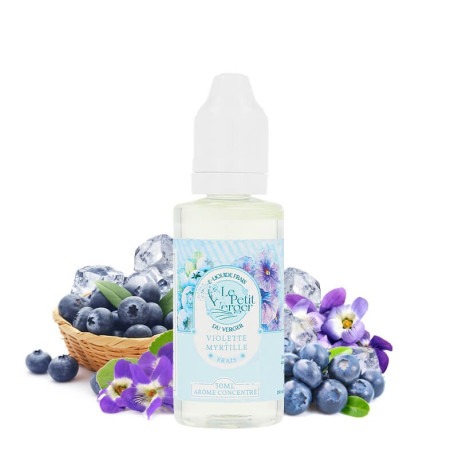
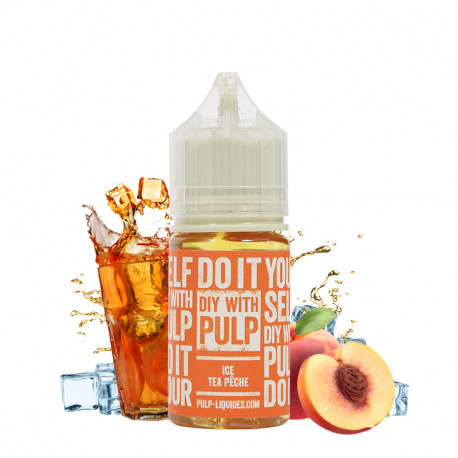
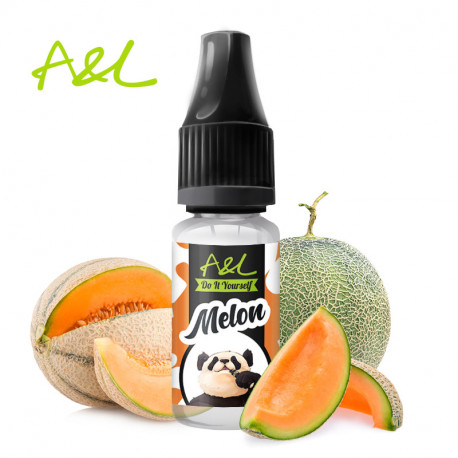
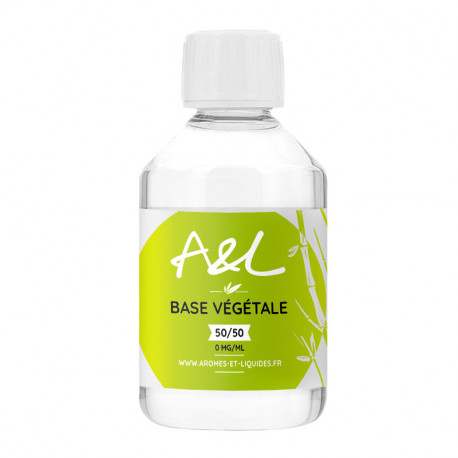
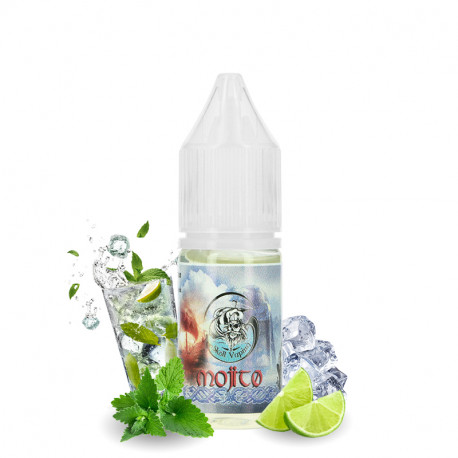
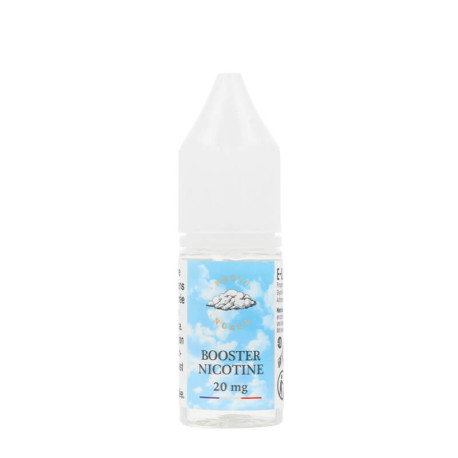
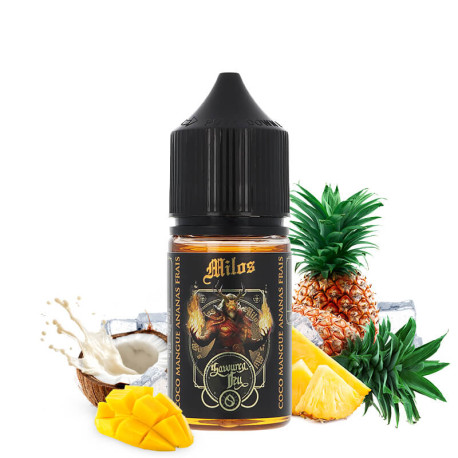
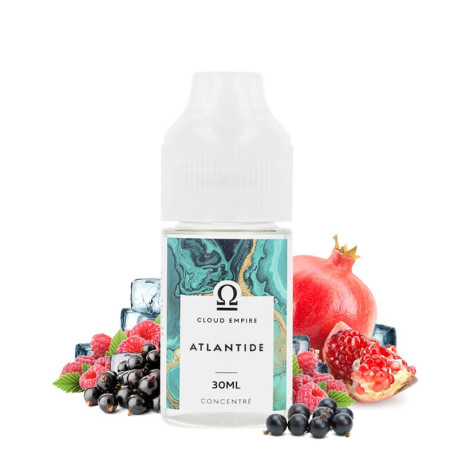
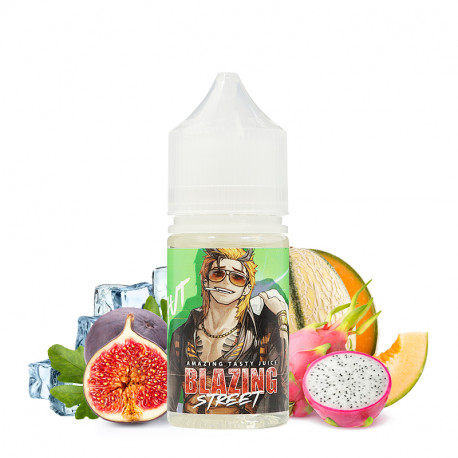
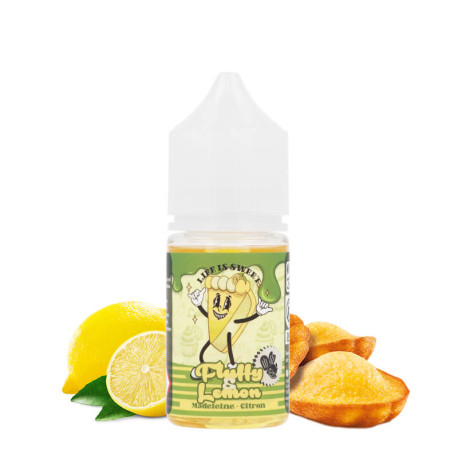
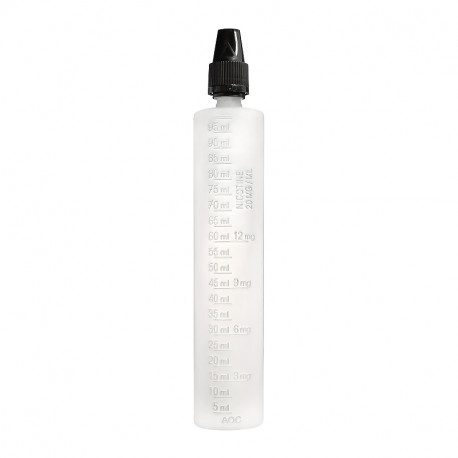
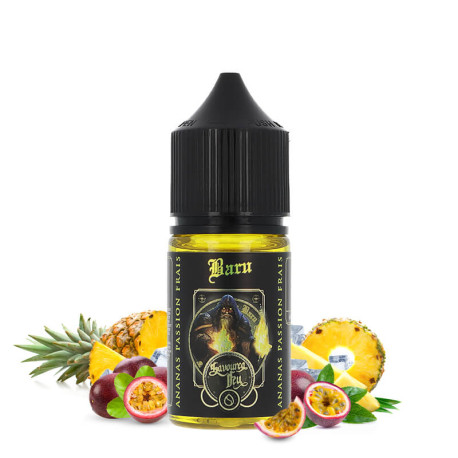
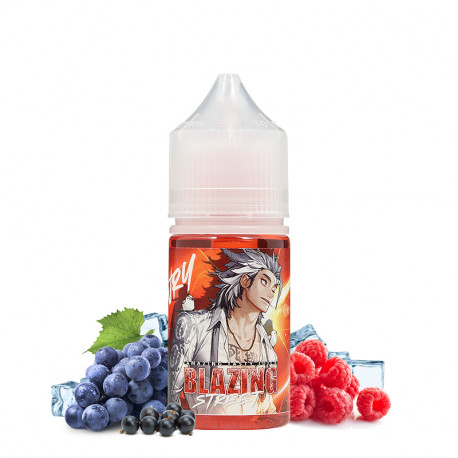
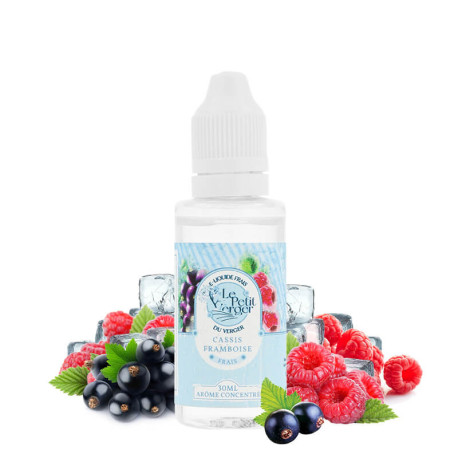
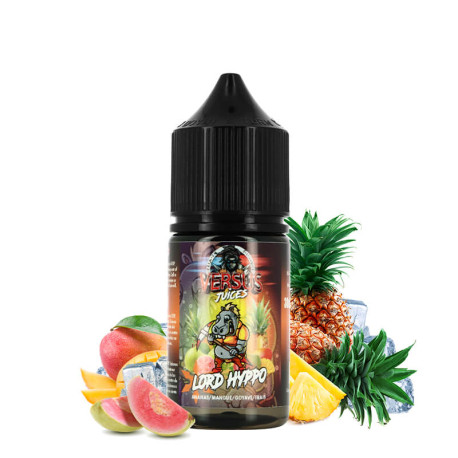
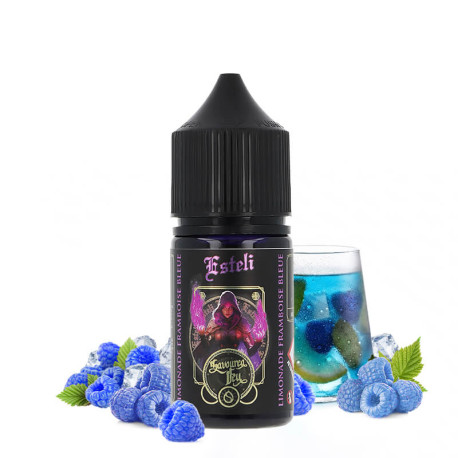
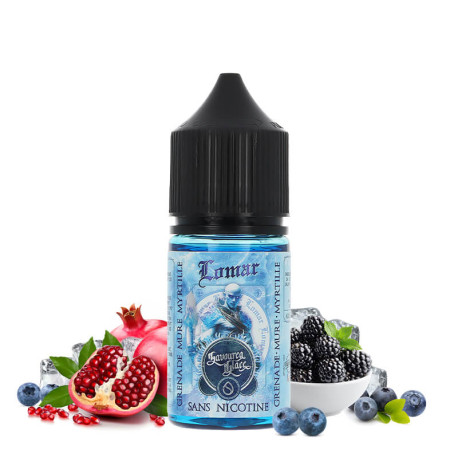
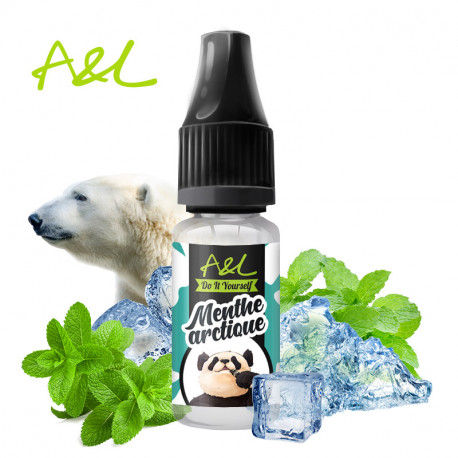
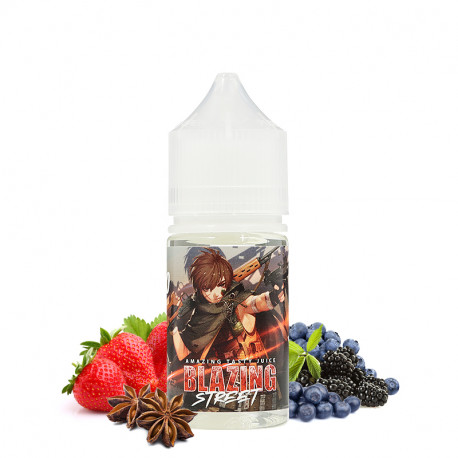
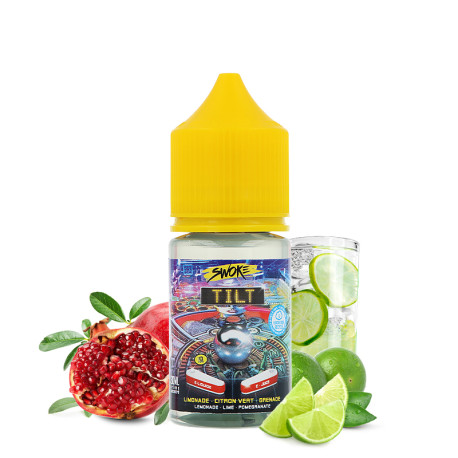
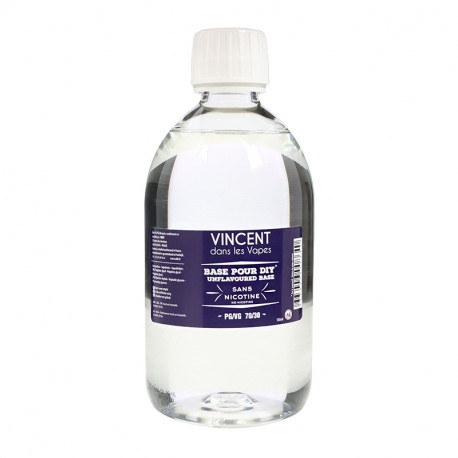
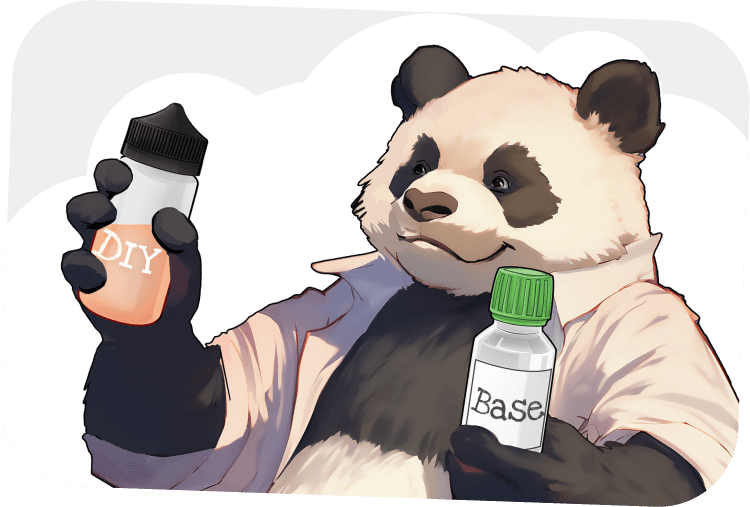
To start crafting your own e-liquid at home, you'll need specific equipment and follow these simple preparation steps.
But don't be discouraged: DIY is within everyone's reach. If you follow our advice, you'll get it right the first time!
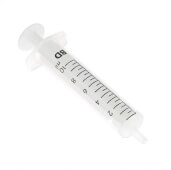
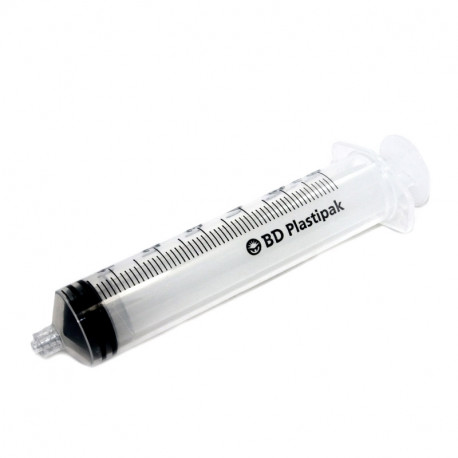
Syringe
A 10 to 30ml syringe for the base
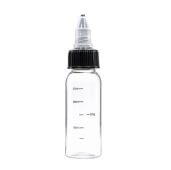
Bottle
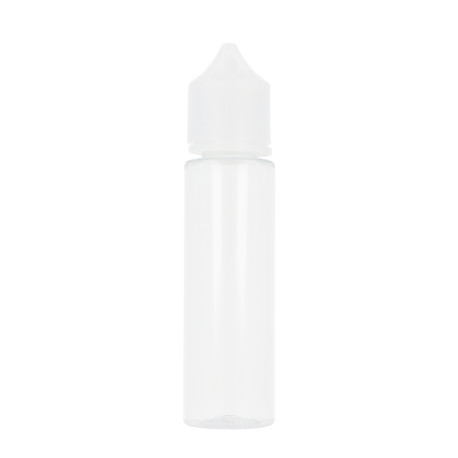
Plastic or glass bottle of 10ml or 30ml to make your preparations
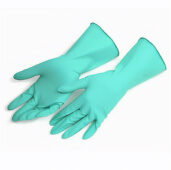
Gloves
Protection gloves
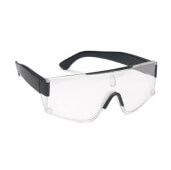
Goggles
Protection goggles
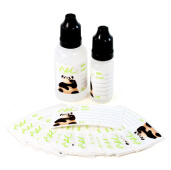
Label
Label to write the name, date, and dosage of your preparation








There are at least 4 good reasons to make its e-liquid in DIY:
First, the price is a good motivation when you want to start in the Do It Yourself. Indeed, separately buying each ingredient before mixing them is cheaper.
Then, it’s the mastery of all manufacturing steps. From the choice of ingredients to dosages, you can create an e-liquid that suits you, and have fun imagining new recipes!
It's also an opportunity to create your favorite recipes in large format. Unlike ready-made e-liquids, which are limited to 10ml, with DIY you can make your e-liquid by the liter if you like!
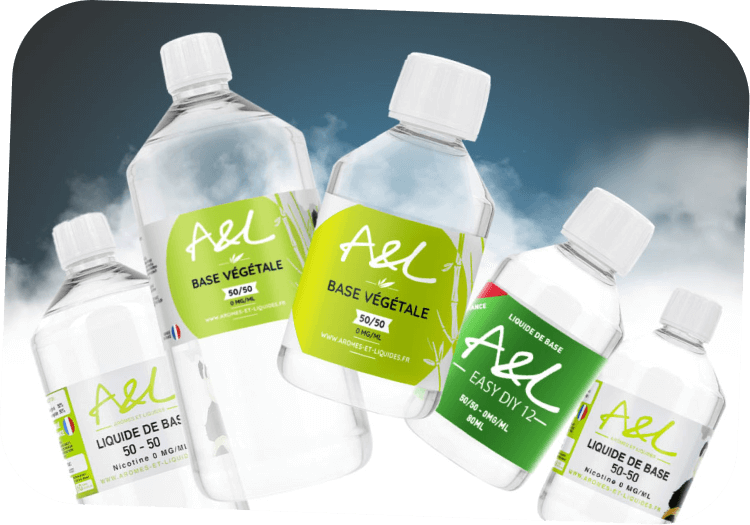
The base is an essential ingredient in making your DIY e-liquid. Associated with a concentrate and eventually nicotine, it allows you to create your e-liquid.
An e-liquid base is the association of two elements:
You'll find bases with different PG/VG ratios, such as 20/80, 50/50, or 30/70. There are also bases made from 100% VG, but not vice versa.
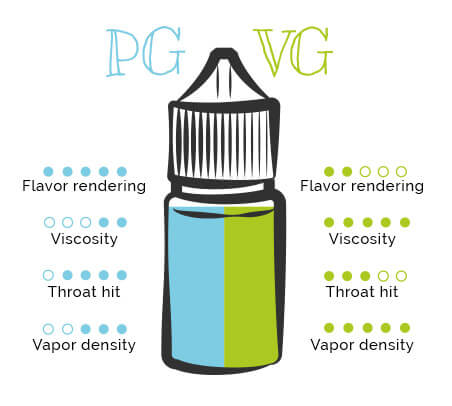
Both PG and VG have unique properties that will influence the result of your DIY e-liquids:
We generally adjust the PG/VG ratio according to your needs, equipment, or simply desires..
For an e-liquid with a marked throat hit and precise flavors on a small clearomizer or podmod, increase the PG rate
On the contrary, on a sub-ohm clearomizer (coil below 1ohm), increase the VG to avoid leaks but also improve vapor production.
If you’re only starting with DIY or electronic cigarettes, nwe recommend starting with a 50PG/50VG base. This ratio represents the perfect balance between all the advantages of these two ingredients. You can try different base ratios to explore all the possibilities that are offered to you!
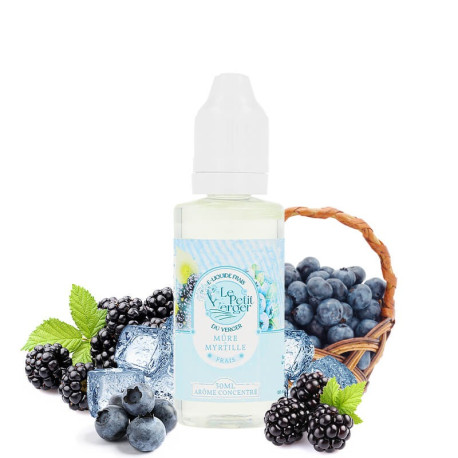
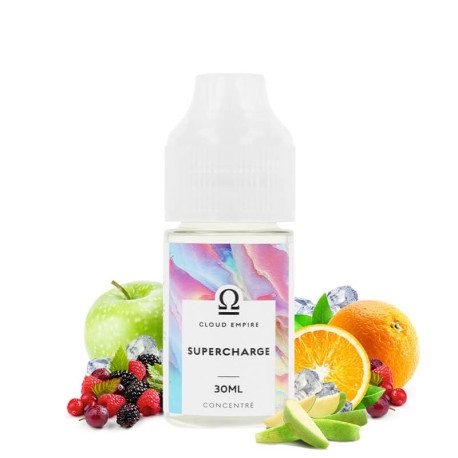
The concentrate is the main ingredient of a DIY e-liquid as it’s the one bringing flavor to your preparation. The concentrates play an important role in smoking withdrawal. Without them, studies have shown that the percentage of success for vapers is much lower! The success rate for a vaper to quit smoking decreases.
That's why it's so important to choose the right e-liquids, both to stop smoking and to make an e-liquid you love.
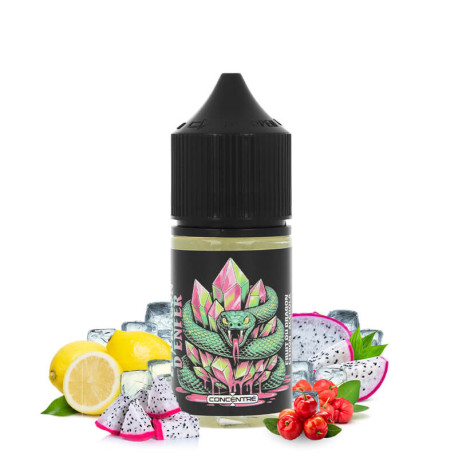
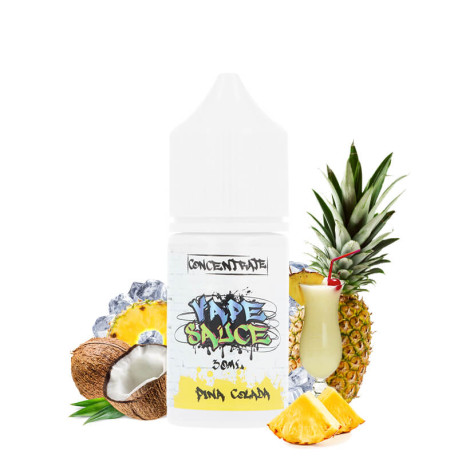
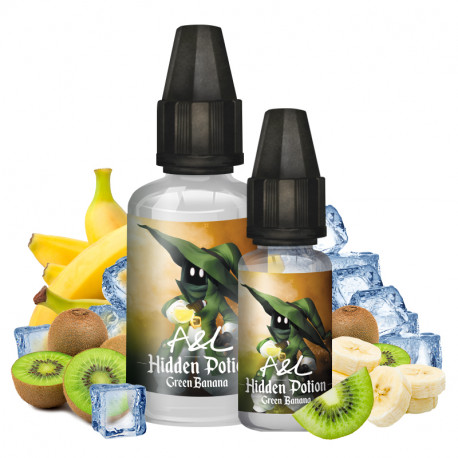
As you'll have noticed, there are a huge number of different flavor concentrates available for making e-liquid. To simplify your choice, we've divided them into 5 main families:
If beginners with electronic cigarettes usually turn to tobacco or mentholated concentrates, it’s not a hard-and-fast rule.
To choose your concentrate, we recommend choosing something you like in your daily life like a fruit or a drink for example
However, vaping an apple is not like eating an apple. That’s why we recommend testing as many flavors as possible to define your tastes with more precision. Try and don’t be scared to be wrong!
In this sense, it may be interesting to not make high quantities of e-liquid with a new concentrate to avoid waste. Start with low quantities and if you like it, you can make more liters later!
The additives allow you to improve your e-liquid recipes. They are not essential, but like salt and pepper in a dish, they will help you to emphasize your e-liquids and transform them into top-notch recipes!
However, the additives are not meant to be used on their own in your recipes or at least not in the same dosages.
Among the most used additives, you’ll find:
The additives are highly concentrated in flavors. The dosage is generally recommended to be less than 1% of the total volume of your DIY e-liquid.
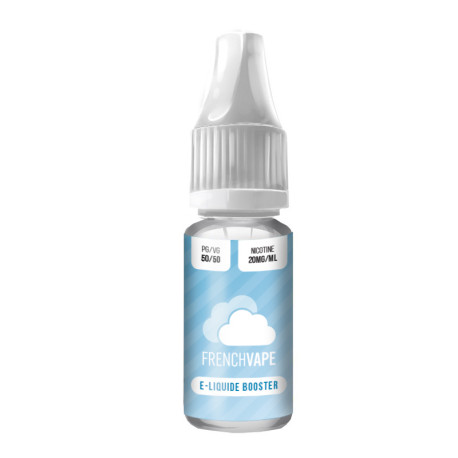
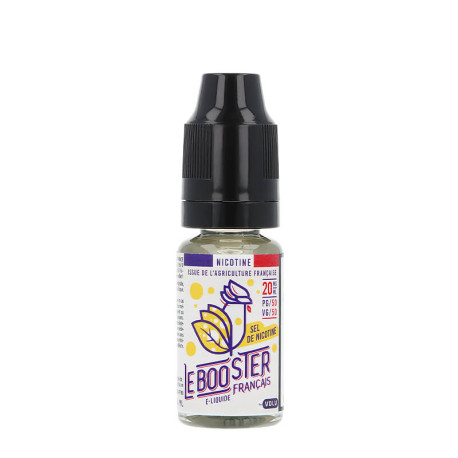
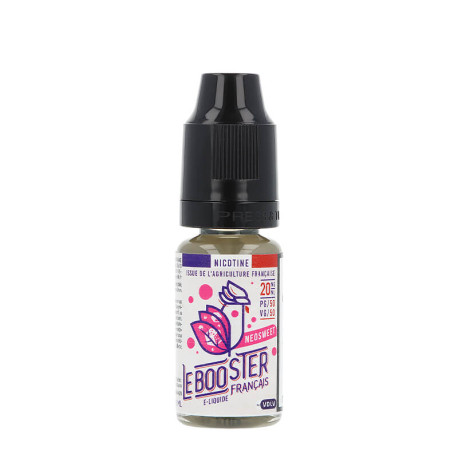
The nicotine boosters are bottles of neutral base with the maximum rate authorized by the European legislation (TPD) being 20mg/ml.
The law forbids the sale of pure nicotine to private individuals but also products with nicotine in contents higher than 10ml.
The main asset of DIY is making e-liquids in large quantities.
That’s why we use nicotine boosters.
By diluting it with your base and concentrates, you’ll get an e-liquid with the nicotine rate of your choice.
To give you an example, if you wish to make a 100ml base in 6mg/ml of nicotine, you’ll need:
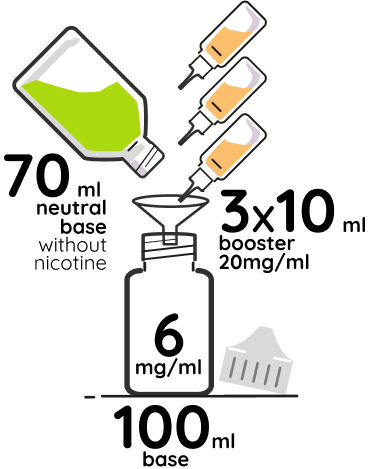
Now that you know the basics to make an e-liquid in DIY, it is time to mix the ingredients but with dosages to respect.
Indeed, to get an optimal result, it is necessary to respect the concentrate dosages, but also nicotine doses if there are any.
What is it? It is a tool that we thought would help you with the dosages.
Whether it is to nicotine a base or to entirely make a DIY e-liquid, you won’t have to make any calculations, the tool uses it for you!
You can even mix several flavors in the same liquid, the calculator is capable of adjusting the dosages to get the perfect liquid!
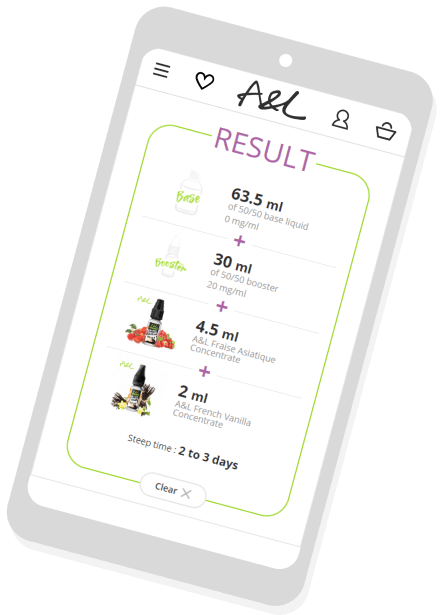
Do you wish to make your e-liquid in DIY and savings at the same time but you don’t feel ready to make all the steps?
There’s a simpler waye to make your own e-liquid without dosage and handling!
To simplify the process, we’ve made complete packs that will avoid boring calculations.
You’ll find all the necessary to make your first DIYs with or without nicotine. The packs hold:
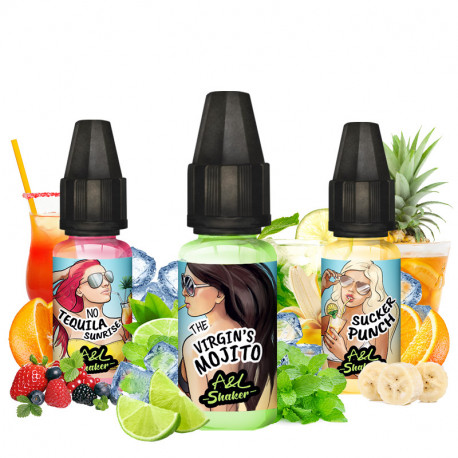
By ordering a DIY pack on the A&L website, you’ll receive a pre-filled base bottle, a concentrate, and boosters according to the chosen nicotine rate. Upon receipt, you only have to pour all the concentrate and boosters in the big bottle and it’s done!
We’ve made the dosage calculations for you, you don’t have anything to do apart from appreciating your e-liquid!
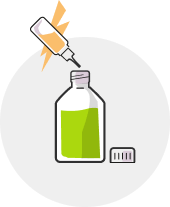
1Pour boosters
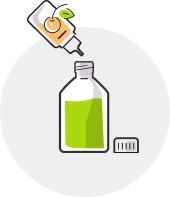
2Add the concentrate
3Close and shake
Once the preparation of your DIY e-liquid is over, there’s an ultimate step to respect before tasting it.
This step is the steeping of flavors which consists of letting the preparation sit so the flavors develop and express all their potential.
In the same way, you let wine age to express all its notes, you let the e-liquids sit so the flavors develop and harmonize.
Letting its DIY steep is an essential step if you wish to get the best result with your e-liquid.
Like good wine, according to the flavors used to make your DIY e-liquid, you’ll have to adapt the steeping time.
There’s no hard-and-fast rule, here are the steep times that we recommend observing according to the category of your flavors:
Even though there are different ways of steeping an e-liquid - some of which are more grandmotherly than scientific - only patience will allow you to get the optimal result.
The secret is the way you can stock your e-liquids. To let the flavors sit, there are three stocking rules to respect:
You only have to summon your patience so the flavors develop and are naturally enhanced. To slightly speed up the process, you can shake the bottle from time to time.
We recommend regularly tasting your preparation during the steep process as the DIY should be to your liking. You might like your liquid with a shorter or longer steep time.
If there’s no limit consumption date for your own e-liquids, the flavors still have a DDM: Date of Minimum Durability.
This length of time of around 2 years guarantees the flavor quality. Beyond the date written on the bottle, the flavors can lose some of their qualities, they can soften, lose intensity, and change color. Even with a passed DDM, they still are perfectly consumable.
You should also watch the storage of your e-liquids to maintain all their qualities. Some ingredients are sensitive to their environment like the UV or the heat for example. Here are 5 storage rules to respect so the e-liquids are preserved:
Do you vape CBD e-liquids and wish to make them in DIY to master the dosage, price, and volume?
DIYing will help you thanks to CBD boosters!
The CBD boosters are offered and used in the same way as nicotine boosters. They are mixed with the nicotine-free PG/VG base and the concentrates of your choice.
There are different dosages of CBD boosters:
The DIY preparation of CBD e-liquid is the same as for a traditional e-liquid.
However, we recommend using CBD boosters with a nicotine e-liquid.
To learn more, follow our guide to make your DIY CBD e-liquid.
If you don't smoke, don't vape
Please enter your date of birth
to enter the website
Vaping is a transition to a tobacco-free life
without dependency on nicotine